








Most visual mistakes on social media are not design mistakes. They are export, crop and preview mistakes, and a 2-minute check catches them. Run the seven checks below before every post and you'll stop publishing blurry, cropped or off-brand images.
TLDR: Check size, crop, text safe zone, contrast, file origin, caption cut-off and brand consistency, in that order. Then preview the post in the real platform layout before it goes live.
Mydrop data, September 2026: in the 30 days to 16 September 2026, 98.5% of posts published through Mydrop went live at the first attempt. The most common warning was a YouTube custom thumbnail rejected because the channel was not phone-verified; the most common hard failure was an expired platform connection. Method in the Mydrop social media benchmarks.
The 7 checks, in the order mistakes happen
| # | Check | What goes wrong | Quick fix |
|---|---|---|---|
| 1 | Size and ratio | Wrong ratio gets auto-cropped | Export to the target ratio (for example 4:5 for feed, 9:16 for stories and reels) |
| 2 | Resolution | Small file is upscaled and looks soft | Export at full size, never from a thumbnail |
| 3 | Crop and focal point | Face or product cut off | Keep the subject in the centre 60% |
| 4 | Text safe zone | Platform buttons cover your words | Keep text away from the top and bottom edges |
| 5 | Contrast | Text vanishes on a bright photo | Add a solid band or darker overlay |
| 6 | File origin | Screenshot or re-saved file gets compressed again | Upload the original export, once |
| 7 | Brand consistency | Wrong font, logo or colour | Start from a saved template |
These are our working rules, so adjust them to your platforms. What matters is that each check is a simple pass or fail.
Why "high quality" files still look bad
Blur nearly always comes down to one of three things. The export was small, so the platform stretched it. The image went through two apps, and each one compressed it again. The crop changed after export, which pulled in a lower-resolution area.
The fix is boring, and it works: design at the final ratio, export once at full size, and upload that exact file. Our 22-point pre-publish checklist has the full version if you want more than seven.
Preview in the real layout, not in your design tool
A canvas in Canva or Figma doesn't show you the platform. It won't show you the profile grid crop, where the caption gets cut off, or the buttons sitting over your image.
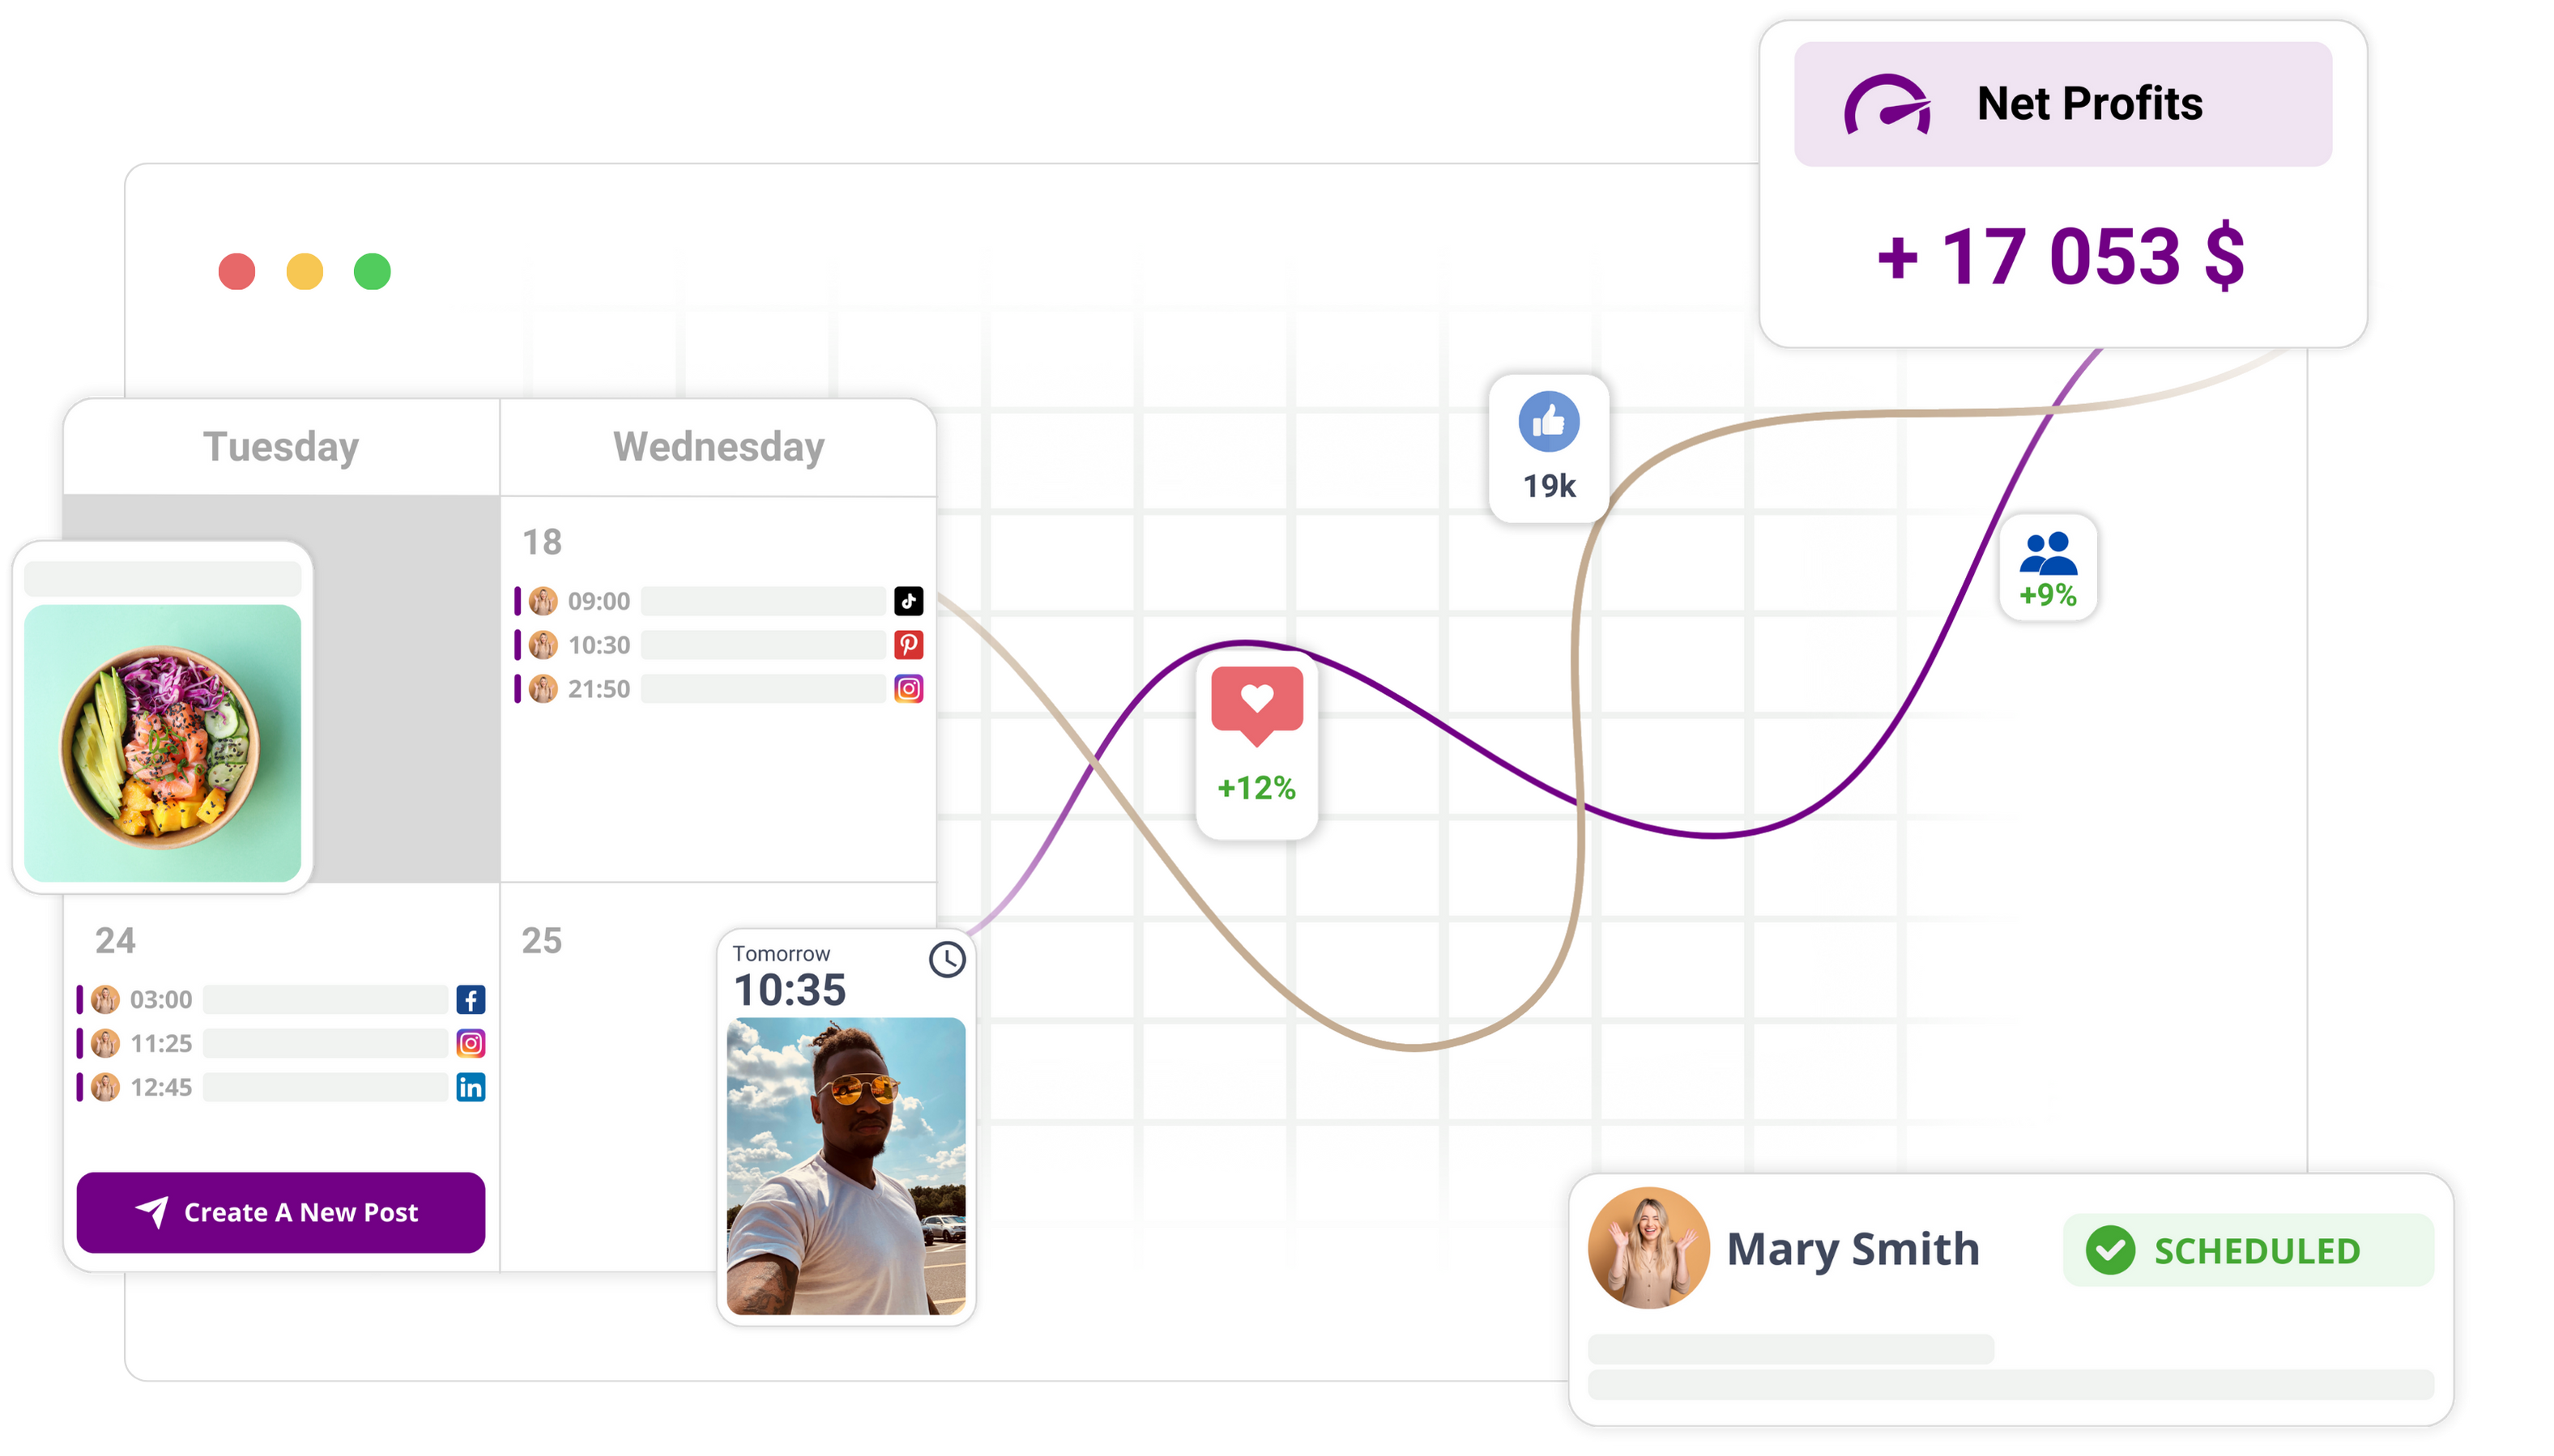
Mydrop has a per-platform post preview that shows how each post will appear before it goes out. Check it for every post. It takes about 20 seconds and catches most crop and cut-off issues. If you design in Canva, the Canva integration lets you pull the design straight into the post instead of downloading and uploading it again, which also saves it from being compressed twice.
Give the post a second pair of eyes
You stop seeing your own mistakes after the third pass. A second person catches what you can't. For teams, an approval workflow with a short checklist (the seven above) makes this routine instead of a favour.
If you're a solo creator, schedule the post and review it in preview mode the next morning before it publishes. The delay is your second pair of eyes.
Catch the failures that are not visual
Quality also means the post actually goes live. The figure above shows that most posts publish on the first attempt, and that the usual problems are connection and thumbnail warnings, not the creative. After you queue a week of posts, check your scheduler for warnings then, not on the day they're due.
Run the seven checks on your next post
Copy the table into your notes and tick each row on the next post. If a check fails twice, turn it into a template rule so it can never fail again. To preview every post and run approvals in one place, start free with Mydrop.

 Google review
 Trustpilot review
 Product Hunt comment